You are now ready to:
PEACOCK BODY FOR ROYAL WULLF
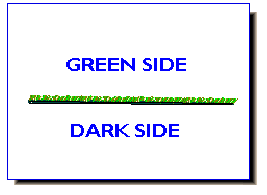
| 1. If you look at a strand of herl, you find one side is dark and the other is metallic green. The green color is what we want showing for the body. Also, most peacock herls have a skimpy area at the base of the herl. Cut that part off. |  |
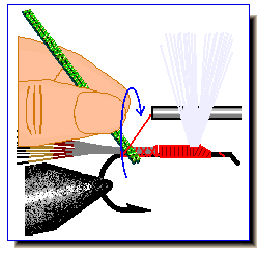
| 2. Hold two in your left thumb and forefinger with the green sides together and against the thumb. Place herls at a downward angle where you want the body to start. On the royal wulff, you want to start at the hook bend and shank junction. Make a loose wrap of thread and tighten. |  |
| 3. Continue with heavy wraps going forward, securing peacock herl butts. Leave thread hanging behind wing. |  |
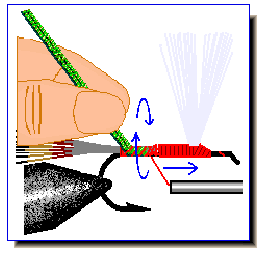
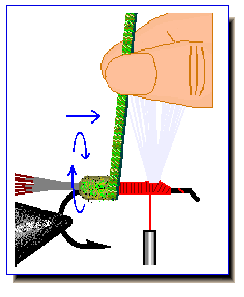
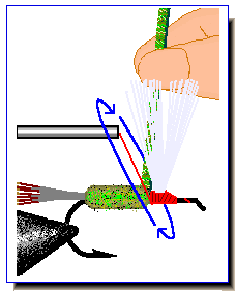
| 4. Wrap herl forward with each wrap along side previous wrap and completely covering thread. I wrap herl using my right hand but switch to left and then back to right to avoid hanging thread and bobbin. |  |
| 5. Wrap till you cover body area but leave a little room behind wing for a couple of turns of hackle. forward to eye to reinforce delicate peacock (breaks easy, doesn't it?). |  |
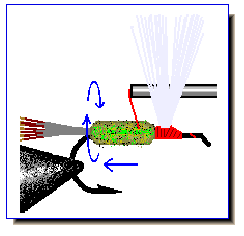
| 6. Palmer thread back thru the entire length of body in about 4 or 5 wraps to the rear of hook. |  |
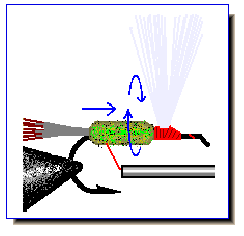
| 7. Palmer thread forward to the middle of the peacock body. |  |
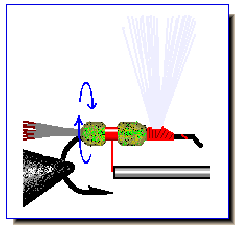
| 8. Build up thread in the middle of the peacock body by wrapping back and forth a little till you get a good solid red color. Palmer forward to in front of wing.
You are now ready to: |
 |